Invest In Your Home - Tips and Tricks For Redecorating
By Jim (10/11/2017)


Dear Readers,
We know that - second to Spring Cleaning- the time when most people are likely to redecorate is just before Christmas (despite all the additional stress it causes) and so if you’re planning on doing some sprucing up, we’ve put together a little list of quick tips to help you avoid mistakes! This is far from an exhaustive list, but it will get you started...
1. Painting
Painting walls can be intimidating, but potential issues can be minimised with a few little tricks...

Image found on Pexels Image License CC0
A little sanding with a fine sandpaper to remove any imperfections will help your paint take better and give it a much nicer finish - this is particularly useful if you are painting over a wall that has previously been papered or decorated using another material. No need to rub away like crazy - that might lead to more problems!
* Take Care When Masking
Masking is a necessary - if tedious - step on the road to a great finish. There are several brands of tape - such as <Frog Tape< - which claim to be better than regular masking tape for this task. Whatever you choose, the best way to get the tape to behave is smooth it down with a palette knife or putty knife - that will stop it bubbling up and letting stray paint in. Also, remember to mask any plug sockets carefully, as they can often be overlooked.
* Use A Tinted Primer
Most of us are now aware that we should use primer before painting, but for a better finish, rather than flat emulsion, go for a primer with a tint of the colour you will eventually use.
* Try A Paint Extender
Paint extender (also called paint conditioner) does what many amateur decorators dread - increases drying time. For those desperate to get back to normal life, it can be a pain to wait, but paint extender provides a great trade off by making the paint flow more easily, eliminated tell-tale brush and roller marks. Just mix a little with your paint before you begin. And speaking of mixing...
* ‘Box’ Your Paint
If you need more than one drum of paint, mix them up in a bucket before you start - this is called boxing and will stop colour inconsistencies which can occur between different batches of paint.
2. Wall Paper
* Sand and Prime
Many people forget these steps, but getting a surface ready for wallpaper starts very much like painting. There are specific primers designer to help wallpaper paste take, which is a great boon later on in the process.
* Use a ‘Mist Coat’ On Plaster
Plaster walls, especially those with fresh plaster, should be given some treatment to stop the paint or paste ‘sitting’ on the surface and not forming a proper bond. A mist coat is a dilute of (non-vinyl) emulsion paint, usually a 60/40 or 70/30 ratio of paint to water, although there are pre-mixed base coats available. Alternatively you can use a specific plaster sealer, which are more expensive but quicker to apply.
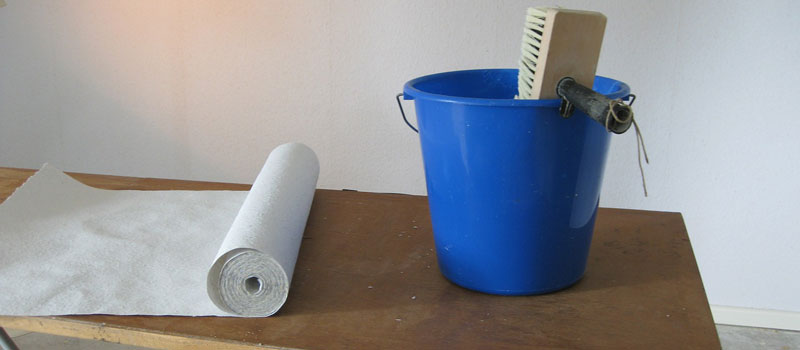
Image found on MaxPixel Image License CC0
* Put Lining Paper Up
Lining paper is again a great way to prep your walls and make them smoother for your final paper - this material is put up horizontally on the wall, rather than vertically, which may seem strange, but avoids ‘double seams’ when the wallpaper is applied. It also makes removing wallpaper easier, so if you plan on redecorating again in another few years it’s definitely worth it!
* Always Get An Extra 10cm
As with measuring carpet, you are always better to overestimate than cut exactly - you should cut your wallpaper strips 5cm over on either end to ensure you get what you need, and trim the excess off when the paste has dried.
3. Tiling
NB: If you’re tiling a floor or wall, remember to wear safety goggles and protective gloves, especially when removing old tiles!
* Plan Your Layout
Before you do any laying, make a detailed plan of your area, and find out how many tiles you’ll need - this can be tricky, as tiles come in many different sizes, but there are websites which will have ‘tile calculators’ you can use.
Also, make sure to include difficult areas; rooms are very rarely perfectly square - you should always look out for any bits that stick out (or in), much like measuring for carpets - if you include them in your plan, you’ll avoid any nasty surprises later!
* Start From The Centre
It can seem logical to start at the edges when starting any task of these kind, but in fact tiling requires the laying of a ‘Key Tile’ at the centre of the room - your job is to then fan outwards from there. Find the approximate centre and dry lay your key tile, and a row of tiles to one wall to see how neatly they will fit - the object is to get near-full tiles near either wall, without having to trim them down too much, so you may have to shift your key tile slightly to achieve this.
Once you have the area planned with dry-laid tiles, and use tile spacers to further ensure their final positions - after you’re satisfied, mark the position of the key tile on the floor with pencil or chalk.
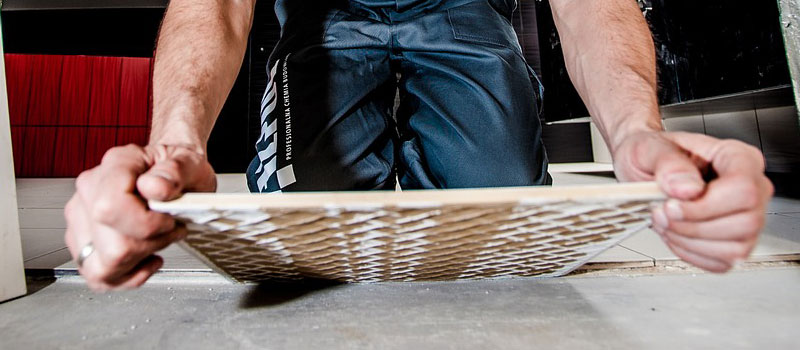
Image found on MaxPixel Image License CC0
* Using Tile Adhesive
Tile adhesive can be bought pre-made or as a powder which can be mixed with water. They are often formulated for specific conditions and areas - for example, some are for underfloor heating whereas others are water-resistant for bathrooms.
First, spread out your adhesive onto the floor with a notched trowel or similar tool - ideally you want an area big enough to several tiles, and you only need a thin layer to stick them down. Rotate the tiles little from side to side when pushing the tile down, to remove any air bubbles underneath.
* Work In Quarters
Again, start with your key tile and work towards each wall, so you form a cross - then in-fill one quarter of the room, putting the tiles down in rows. This can be adapted for larger rooms, as you should try not to place any weight on the newly laid tiles for about 24 hours, while they are drying. Fill as much of the area as you can with the whole tiles - leave the cut tiles for the next day.
We found these tips, along with many others, on the HSS and B&Q websites - check there for more in-depth instructions!
4. Some Tips For Carpet
We would always recommend using a professional fitter for yours carpet, as it can be a lot trickier than it first looks the best place to find an accredited fitter in the UK is the National Institute of Carpet and Floorlayers website - however, there are still some very important things you can do as a home-owner to prepare for fitting...
* Always Measure Carefully
“Measure twice, cut once” - this old mantra is doubly true if what your cutting is expensive, as good carpet tends to be!
Measuring carpet is generally easy but there are a few pitfalls which can be a pain - luckily we have created a series of videos on our YouTube channel to help you out!
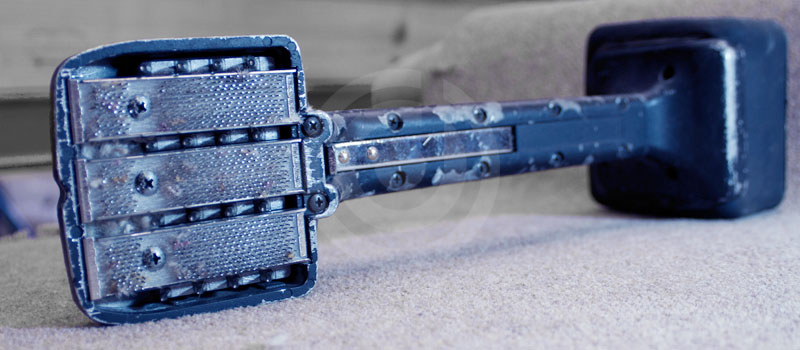
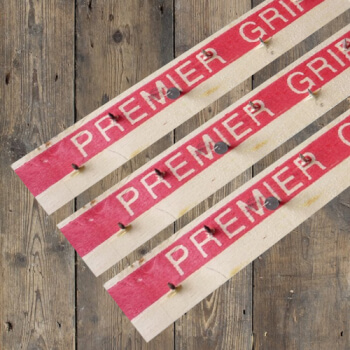
'Knee Kicker' - Image © Designer Carpet 2017
* Get The Carpet Before Booking A Fitting
Although we would highly advise seeking a consultation with a fitter to measure and make other important checks, it is best to ensure that the carpet is delivered to you before booking your fitting appointment.
Many fitters - especially those who are popular - have cancellation fees if they have to rearrange, so although it can be a pain hanging around the house, it is better to ensure it is with you before going further. However, is also a bad idea to keep carpet standing up for too long as it can cause it to fold and crease - best to let it lie on the floor if there is room!
* Acclimatise Your Carpet
Tying in with the previous point, most carpets - especially natural floorcoverings like sisal - need to acclimatise in the space where they are to be fitted.
This is because all material naturally changes size depending on the temperature, and if the carpet has not acclimatised properly it may shrink - pulling away from the walls - or expand, causing it to ruck up. Therefore it is a good idea to unwrap it and leave it where it will be fitted for a while - preferrable 24 hours or so - to allow it to reach its natural size.
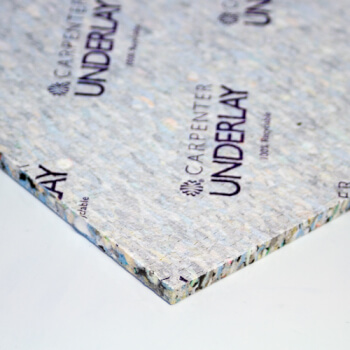
* Get A Suitable Underlay
We wrote a whole blog about picking the right underlay, but if you don’t fancy ready that, here are the bare essentials…
* Underlay for stairs should be densers and thinner - we suggest no more than 8mm
* For bedrooms and lounges, which get less foot-traffic, it can be thicker, and provide greater insulation - 10mm is usually a good start
* If you want to install underfloor heating, always ensure your underlay doesn’t have too-high a tog rating (more about calculating tog ratings here)
* Likewise, some underlays aren’t suitable for natural floorcoverings. For sisal, coir, seagrass and jute, use an underlay advertised as being for the ‘double stick’ method i.e. the underlay stuck to the floor, the flooring stuck to the underlay.
There are plenty more tips for carpet we can offer, of course - but for those you can check our FAQ and of course get in touch via phone or e-mail!
Okay - that was the first - possibly of many - of tips and trick for redecorating! We hope they come in useful leading up to Christmas, and in the future too.
NB: If you are planning on getting new carpet for Christmas, please try to order before November 30th to avoid disappointment. We will of course try to fulfill orders after that point but we cannot guarantee the delivery time.
Price (Low-High)
Price SQM (Low-High)
Enter your required size for our most accurate pricing and availability.