A Quick Guide To Fitting Underlay
By Jim (17/11/2017)


Hello again dear readers!
Fitting carpet can be a very daunting task - as we mentioned in our previous blog, we would always recommend an accredited carpet fitter for the job - however you can save yourself a bit of time and money by putting down your own underlay!
This is a far less demanding operation, but still requires knowledge and care to get it right - and so here are some insider tips to help you out…
NB: We know that the images on this blog are currently very boring and generic - we hope to be able to update them very soon to illustrate the different steps in this process!

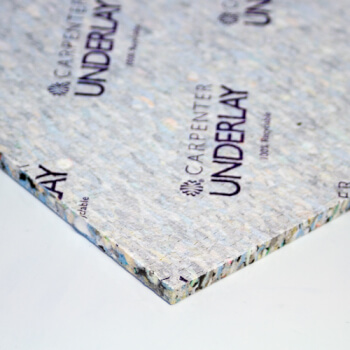
Carpenter Perfect Living Underlay - Image © Designer Carpet Remnants
Useful Tools
* Utility Knife
* Underlay/Gaffer Tape
* Staple Gun (for wood floor)
* Spray Adhesive (for concrete floor)
* Hammer
* Hacksaw or ‘Gripper Shears’
* Tape Measure
* A ‘Spacer’ (a piece of wood/other material roughly 1cm thick)
* Safety Gear: Goggles, Mask, Sturdy Boots
* A Wall Detector
Uplift and Removal
The most important thing that any fitter will tell you, whether you are fitting carpet, vinyl, hardwood, anything - is to make sure your floor is well-prepared before you begin!
This means not only moving all the furniture out of the way, but removing the old carpet and underlay. ‘Uplift and removal’ is a service many fitters offer, but it can be done easily without too much effort.

Carpenter Prostep Underlay - Image © Designer Carpet Remnants
* Removing Your Old Carpet
Using a sturdy utility knife, start at the skirting board (or hard against the wall if there is none) and make an initial cut to create a strip about a foot wide.
Continue to the centre of the room, then start again at the wall, cutting another strip - do this across the whole carpet, then you can cut the strips out and cut them down into squares, which will make it easy to dispose of.
Although this can be very satisfying if you have grown to dislike your old carpet, don’t get carried away! Always take care and be wary of scratching or otherwise damaging your skirting and floor.
Also, when the old products are removed, look out for gripper rods - the tacks on them will be sharp even after several years, so wear tough shoes or work boots.
This does assume you are planning to throw out your old carpet - if you do want to keep it for any reason, you can cut it away from the wall, although be aware that you will always lose a small amount from each side, as these areas will have been stretched and held in place by the gripper rods which can damage them slightly.
* Sweep Up
Any staples, tacks, nails, grit, dust and dirt which may be there should all be removed - a sweep and a hoover of the whole area is ideal to ensure both safety and a nice finish with no lumps and bumps!
* Keep It Dry
Ensure your floor is dry and free of damp - depending on what kind of floor you have, this may be a longer process, so do always check for these issues before your fitter arrives.
Some underlays are fitted with ‘moisture membranes’ in spaces which are habitually damp, and there are separate damp-proof under-sheets you can use, so it is always worth looking into these options if you think you will need them.
Before The Underlay
* Damp Sheets And Lining Paper
If you are using a seperate damp proof sheet or lining paper on your subfloor (which improves insulation and stop dust rising), lay this out first - these will come with their own instructions for fixing, but are usually taped or stapled down with a heavy staple gun.
Some may require a spray adhesive, so again it is always worth looking into the product before buying.
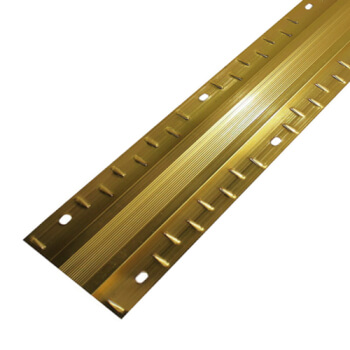
Carpenter Underlays - Image © Designer Carpet Remnants
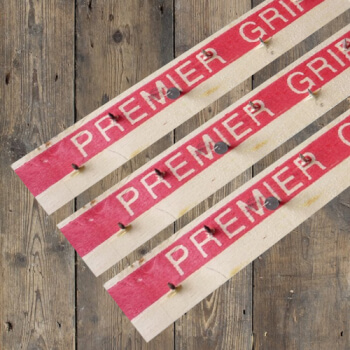
* Gripper Rods
You will most likely already have gripper rodsaround the edges of your floor - if these are still looking sturdy and are spaced correctly, then they can be left in place, but otherwise get new rods. They aren’t expensive, or difficult to fit, so it is worth it.
The rods themselves are usually 1.5m long, and can be cut down (even at angles for complex shapes) with a hacksaw or special shears -take a careful measurement of the perimeter of your room to find out how much you will need.
The rods come with large downward-facing nails every few centimetres, which you will need to hammer into your floor to fix them - position the rods parallel to the skirting, about 10mm (1cm) away. The best way to ensure this measurement is consistent is to use a 'spacer' - a piece of wood - say a cut-off of plywood. Place it between the wall and the rods and you won’t go far wrong!
However do be wary of the placement of any cables or water pipes under the floor - particularly if you live in an older house, it’s always wise to check the plans or use a wall detector before you start hammering!
The only place which will not require gripper-rods are doorways - here you will most likely put a door bar (aka door trimmer, threshold strip) to join the carpet, so leave them free.
Laying Your Underlay
* Cut It To Size
Roll out your underlay - it should lie fairly flat straight off the roll, if not leave it a little - and trim it with your utility knife so that it is level with, but not overlapping, the gripper rods.
If you are using rubber underlay, roll it out rubber side down with the paper facing up - if you’re using polyurethane underlay, like the ones we supply, the printed side should face up.
If your house has floorboards, lay the underlay at right angles to them, as this will again help to prevent dust and damp rising from the cracks.
You will need to cut it into several strips, placed side by side - they should be flush against each other, no gaps, but (again) not overlapping - this would cause bumps in your floor!

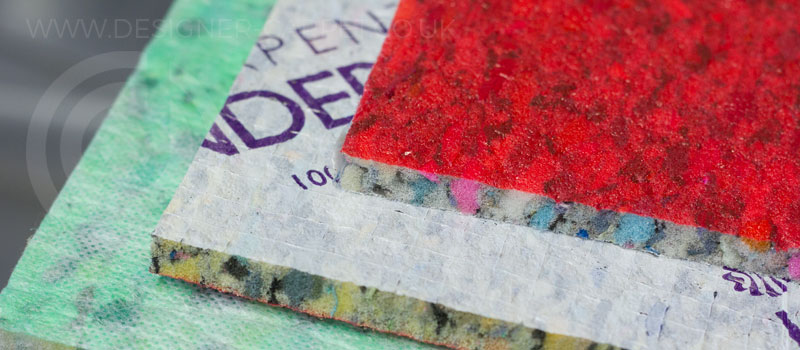
Underlay Strips - Image © Designer Carpet Remnants
Unlike carpet, you can cut the underlay freely into smaller pieces to fit in awkward areas - think of it a bit like a jigsaw - although generally speaking the pieces should be as large as possible to have fewer joins (see below).
Leave a little extra allowance in any doorways - it doesn’t need to be sticking out of the room, just enough for your door bar to grip along with the carpet!
*Time For Tape
Tape your pieces of underlay together with a strong tape - some people sell specific carpet underlay tapes, but as long as it is waterproof, any good-quality gaffer or duct tape will do.
*Fixing
When all the joins are covered, you can fix the underlay in place - the best place to do this is at the edges, just inside the gripper rods.
On wooden floor, you can use a staple gun placing staples every 5-10cm. If you are on concrete floor, you will need to use a special spray adhesive, but thankfully this is not too expensive.
And there you have it! Your underlay is now in place and ready for your fitter!
If you haven’t found a fitter yet, it’s always best to check on the National Institute of Carpet and Floorlayers Website, which has a list of all-accredited professionals. And if you are still wondering what kind of underlay to use, don’t worry, we have a separate blog to answer that very question.
Price (Low-High)
Price SQM (Low-High)
Enter your required size for our most accurate pricing and availability.